The
Code First Approach provides an alternative to the Database First and Model
First approaches to the Entity Data Model and creates a database for us based
on our classes.
Simple
Application in MVC for to describe the procedure of code first using entity
framework. Follow the below steps:
Step-1:
First
create a new application in MVC. i.e. New > Project > ASP.NET MVC 4 Web
Application > Empty Template. Then named this application as
“codefirstdemo”.
Step-2:
Then
add Entity Framework dll in your application.
ToolsàNuget Package ManageràPackage Manager ConsoleàWrite Install-Package EntityFrameworkàclick enter
After that the dll file of
entity framework will be added.
Step-3:
Add a class named as “Employee.cs”
in Model folder. Write this below code in this class.
using System;
using System.Collections.Generic;
using System.ComponentModel;
using
System.ComponentModel.DataAnnotations;
using System.Linq;
using System.Web;
namespace Codefirstdemo.Models
{
public class Employee
{
public int Id { get; set; }
public string Name{ get; set; }
[Required(ErrorMessage = "City required")]
public string City { get; set; }
[Required(ErrorMessage = "Contact person required")]
[DisplayName("Contact person")]
public string ContactPerson { get; set; }
[Required(ErrorMessage = "Telephone required")]
[DisplayName("Telephone")]
[Phone]
public string Phone { get; set; }
[Required(ErrorMessage = "Email
required")]
[RegularExpression("\\w+([-+.']\\w+)*@\\w+([-.]\\w+)*\\.\\w+([-.]\\w+)*", ErrorMessage = "Wrong
email format")]
[EmailAddress]
public string Email { get; set; }
public string Notes { get; set; }
}
}
Step-4:
Then
add a connectionstring in your web.config file.
e.g:
<connectionStrings>
<add name="BlogContext" connectionString="Data Source=server name;Initial Catalog=database
name;Integrated Security=True" providerName="System.Data.SqlClient" />
</connectionStrings>
Step-5:
Then
add a new folder in your solution. Named as “Context”. Then add a class file
“Employeedbcontext.cs” in this folder. Write this below code:
using Codefirstdemo.Models;
using System;
using System.Collections.Generic;
using System.Data.Entity;
using System.Linq;
using System.Web;
namespace
Codefirstdemo.Context
{
public class Employeedbcontext:DbContext
{
public Employeedbcontext() : base("name=BlogContext")
{ }
public DbSet<Employee> EmployeeS { get; set; }
}
}
Step-6:
First
Build the application then right click on controller folder and click on “Add”
then click on “controller”. Then select “MVC5 controller with views, using
Entity Framework”. Then Give the required information i.e.

Select
your Employee.cs class file in Model class. Then choose Employeedbcontext.cs in
Data context class and click on Add button. The controller is added to your
controller folder with its views. i.e. view pages are automatically generated.
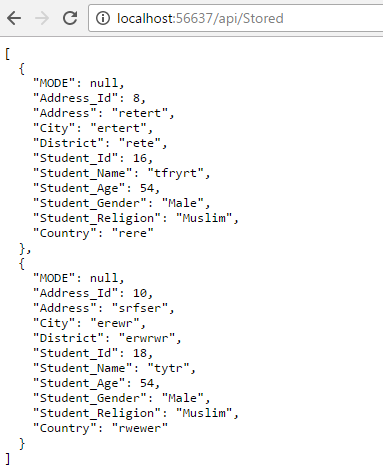
Then
Build the application and run it.

0 Comments